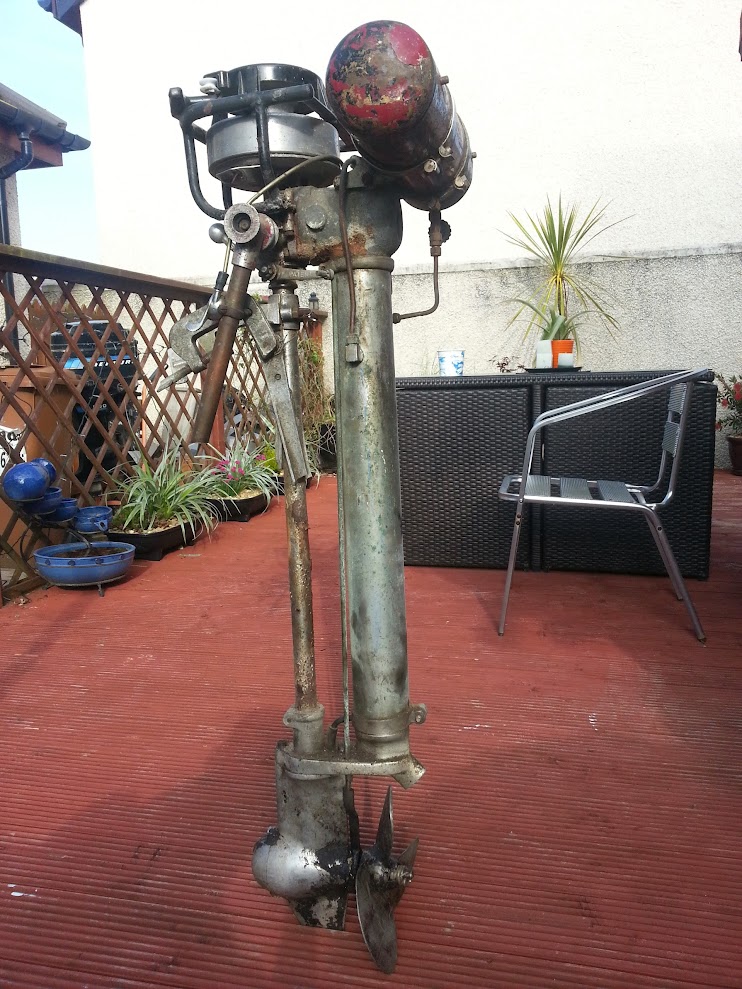
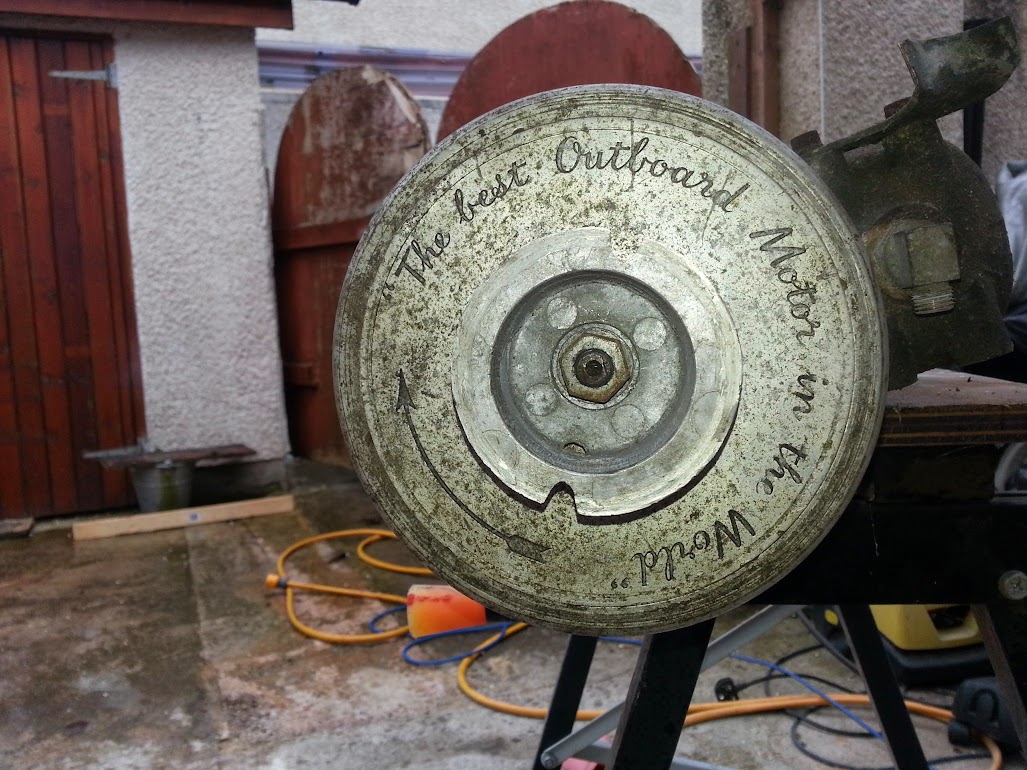
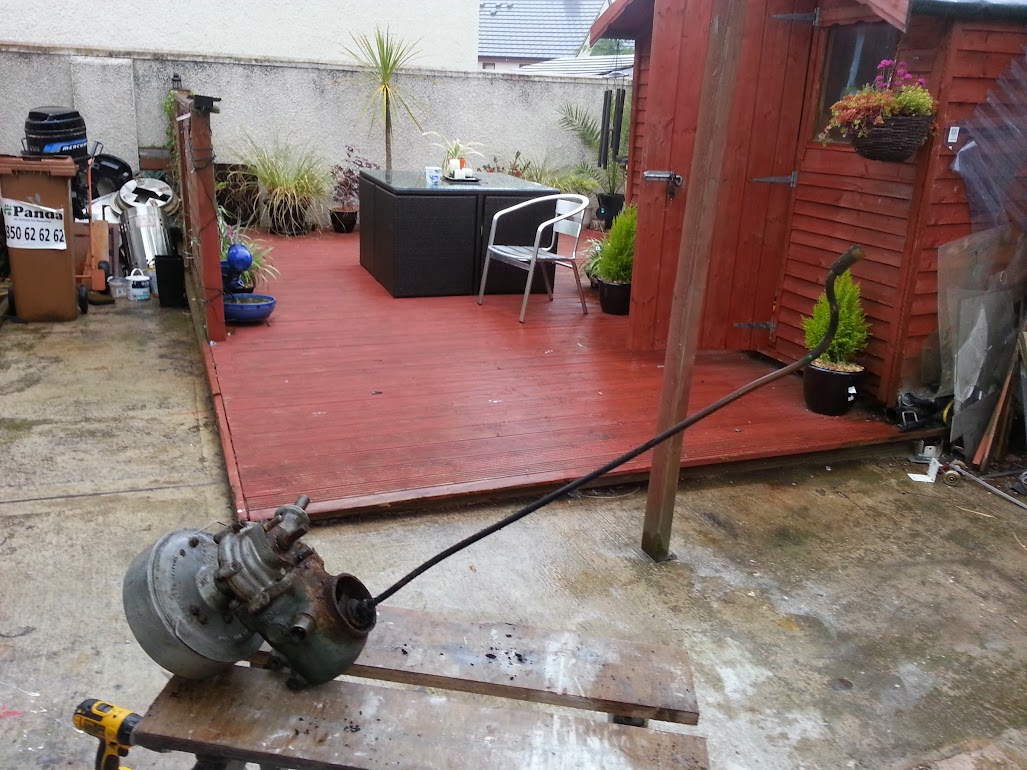
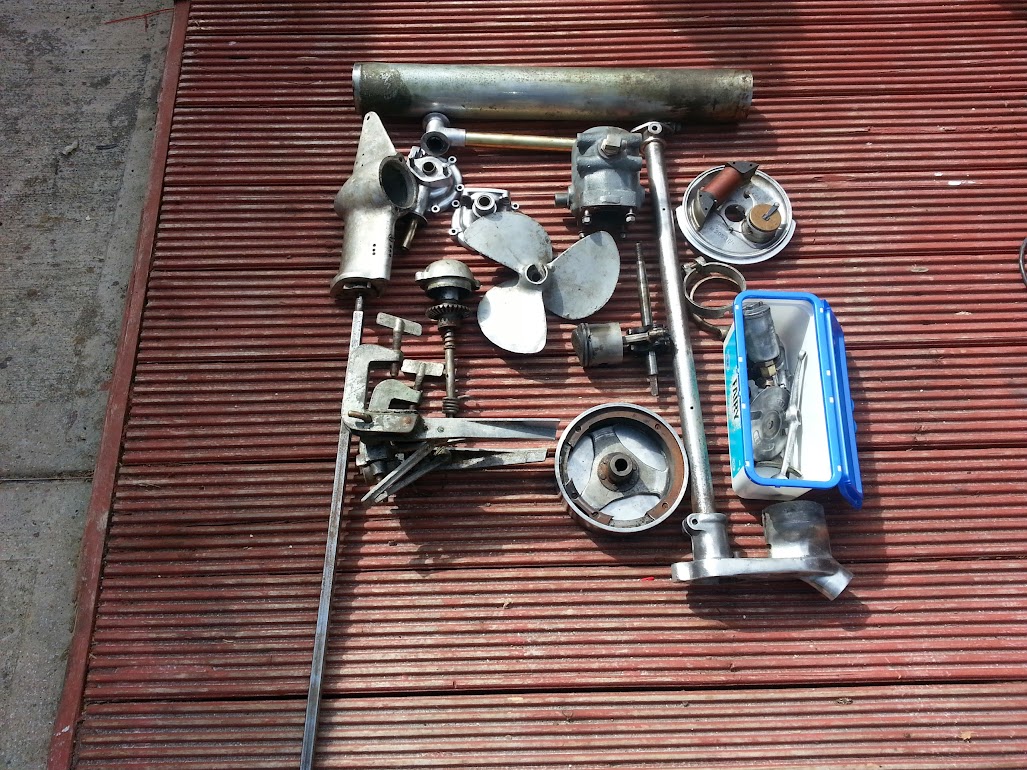
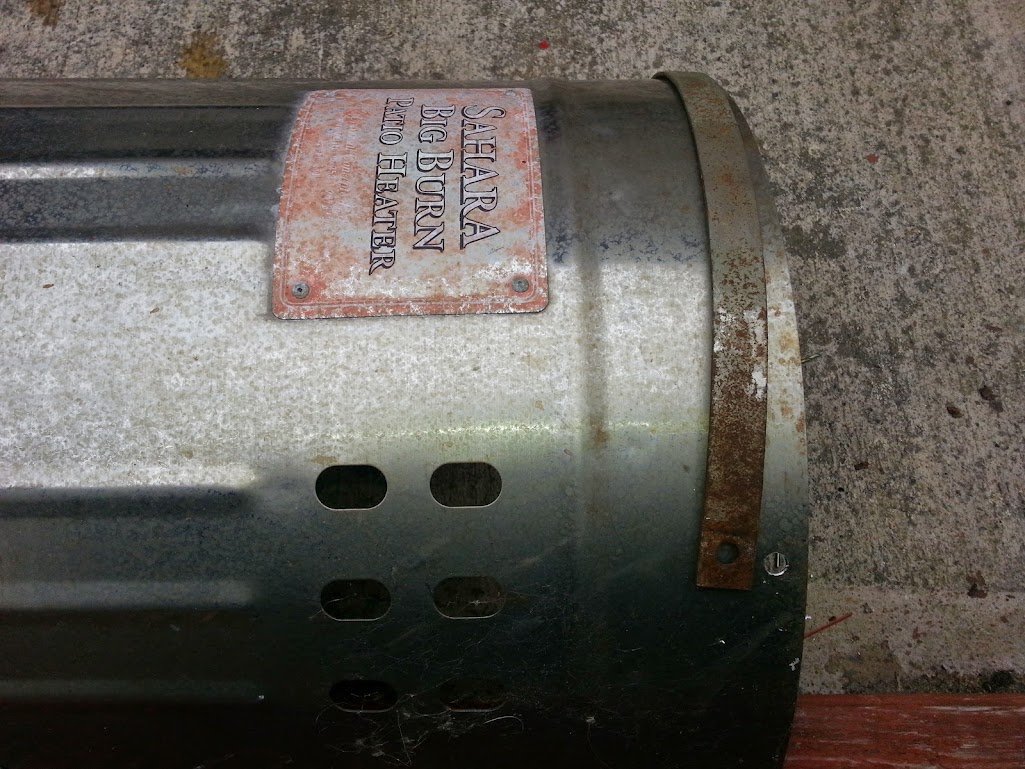
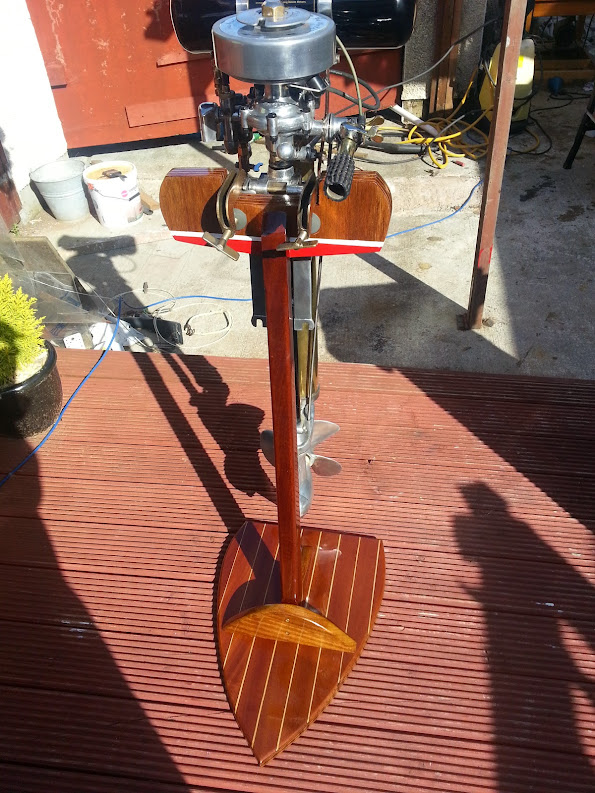
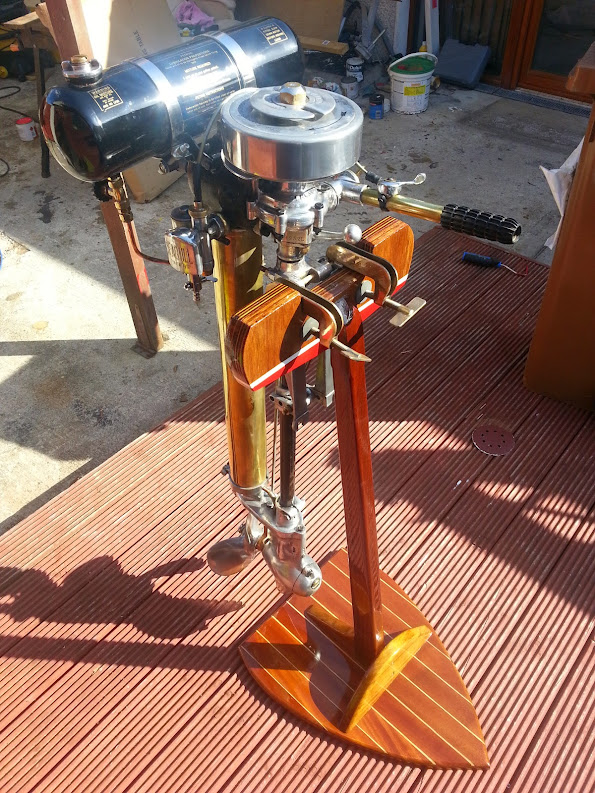
Getting down to brass tacks

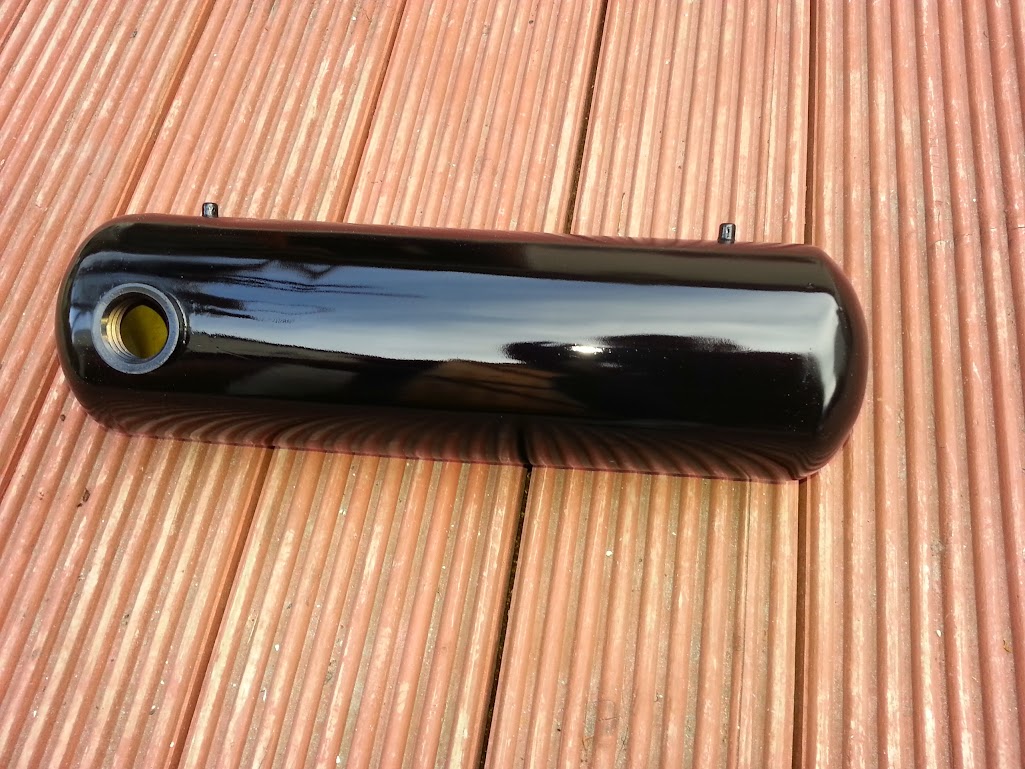
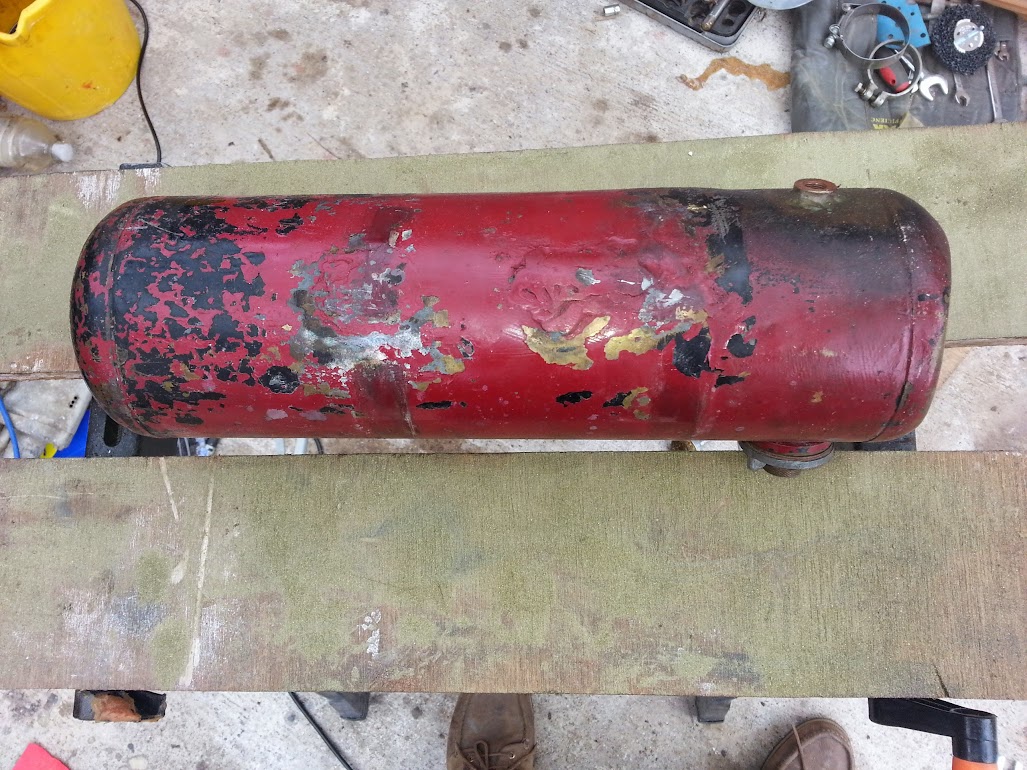
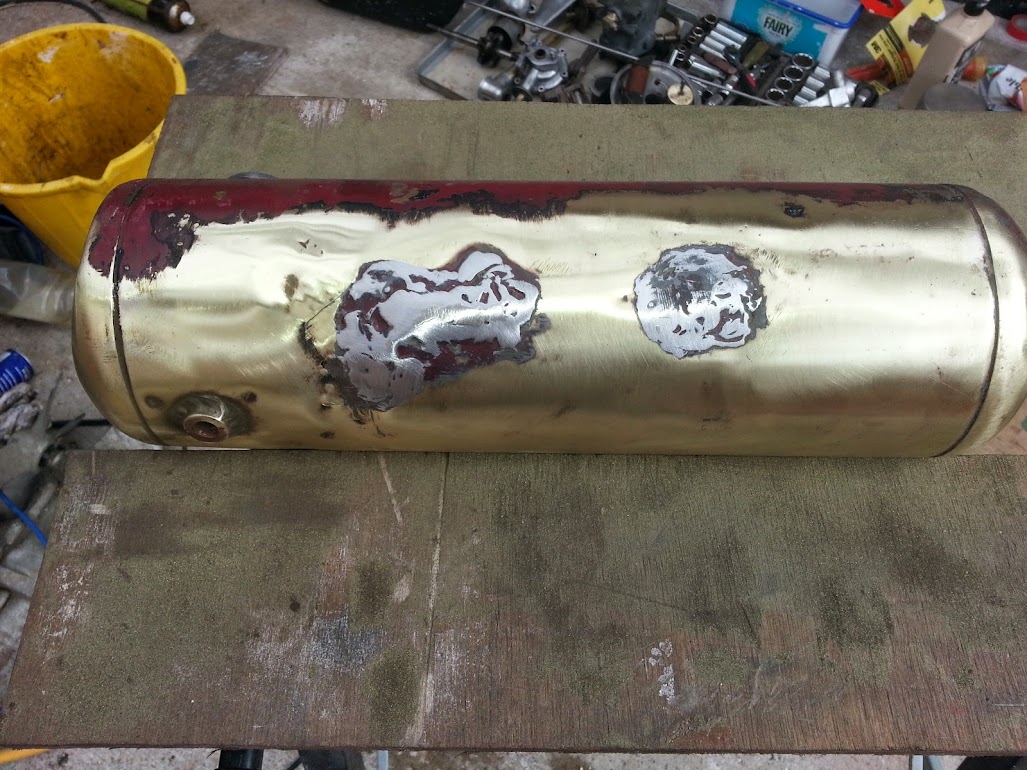
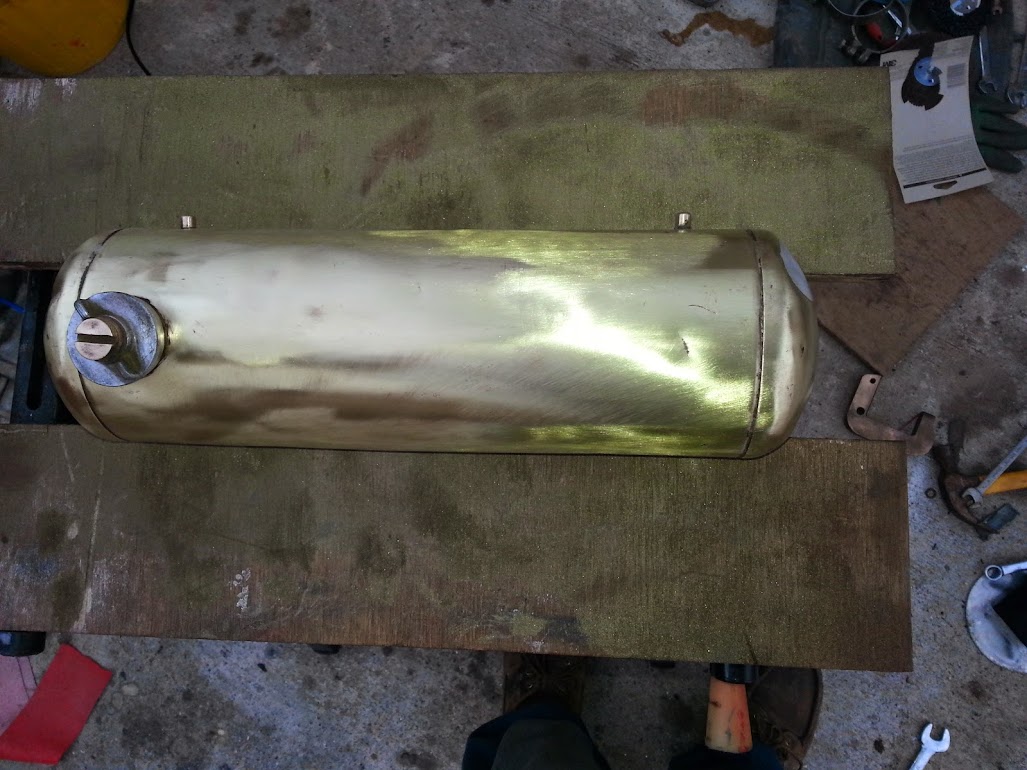
I started to clean up the fuel tank hoping to do a nice polished brass finish to it but as it turned out someone had patched it up before

so I'll just clean it up fill the dints and paint it black.
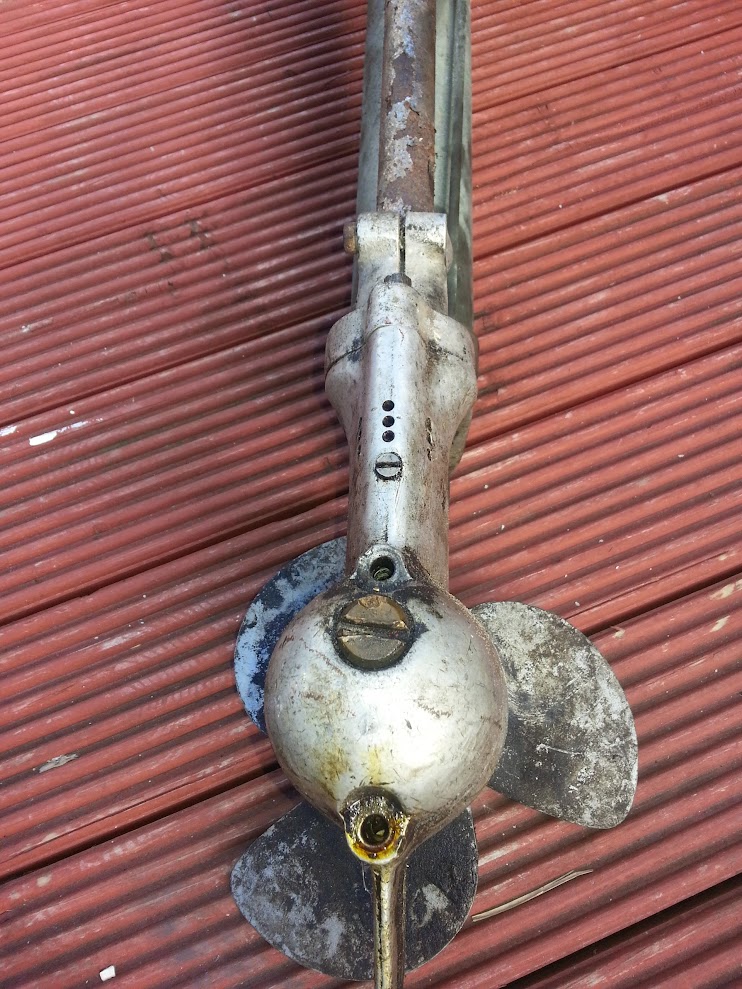
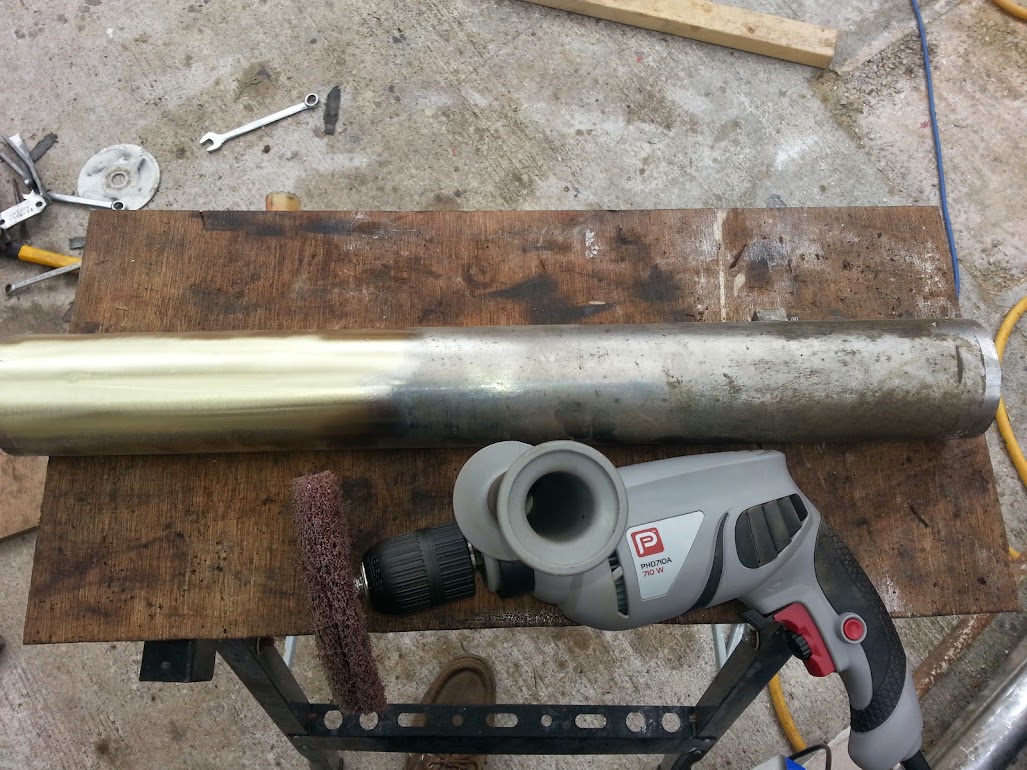
The chrome on the exhaust was all pitted so I cleaned that back to the brass the gear tube is steel so I'll just take the chrome "what's left of it" off and paint it.
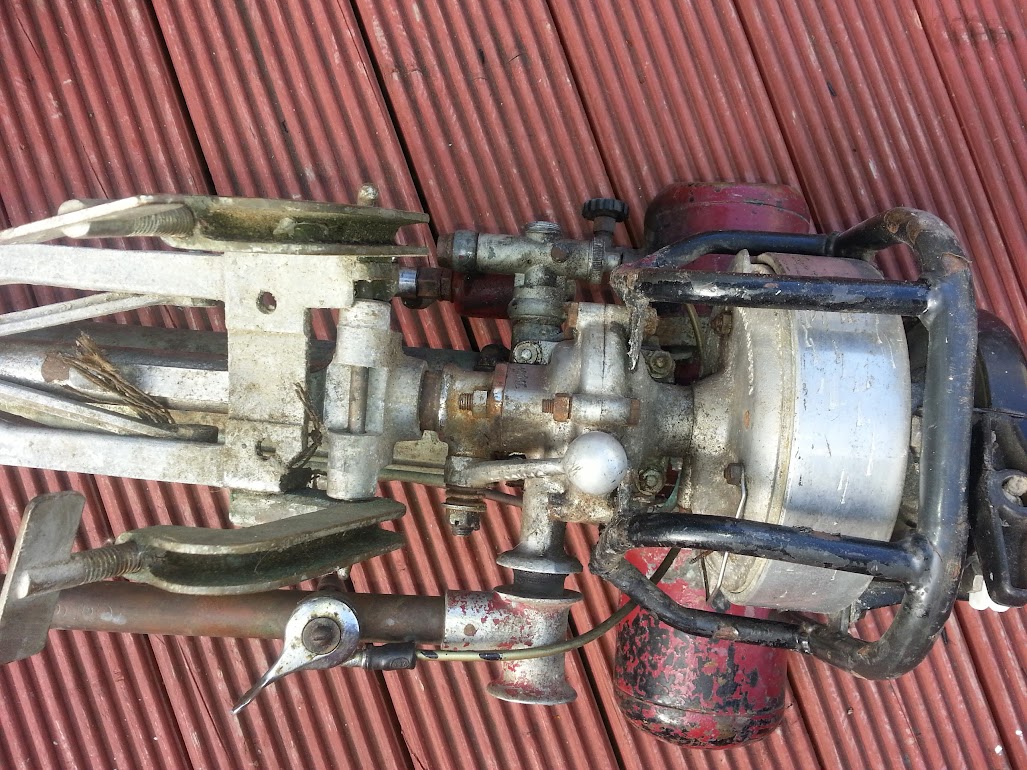
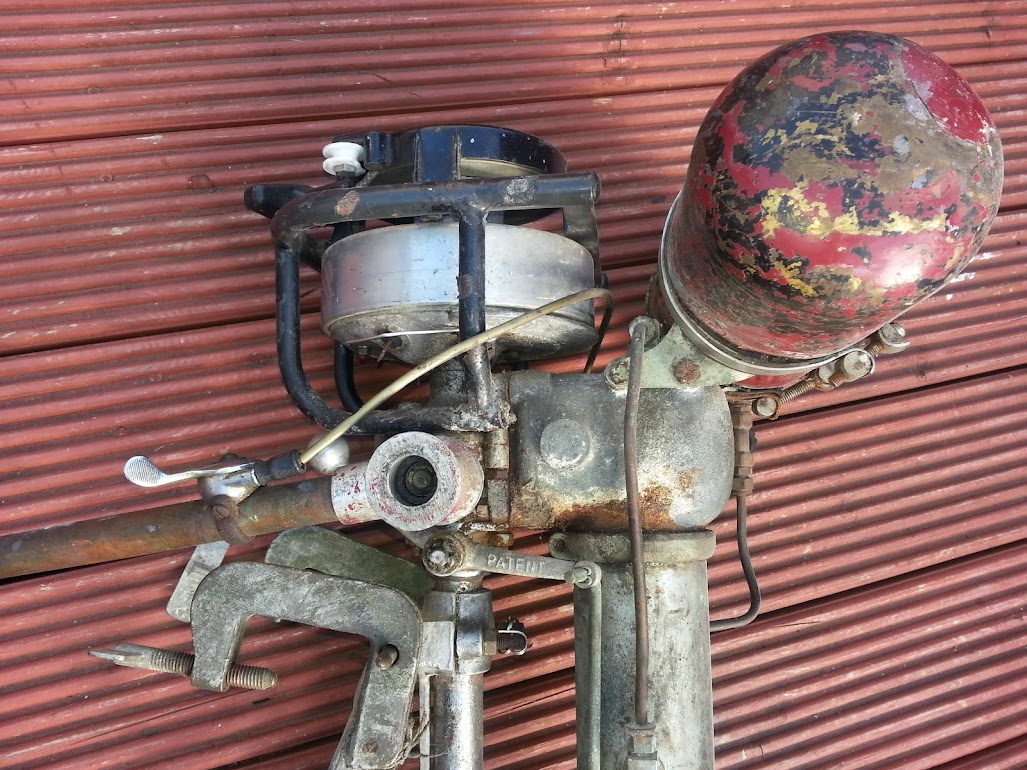
On testing the coil it turned out to be dead
It should be reading between 3-5K Don't mind the setting on the Meter that was just for the photo

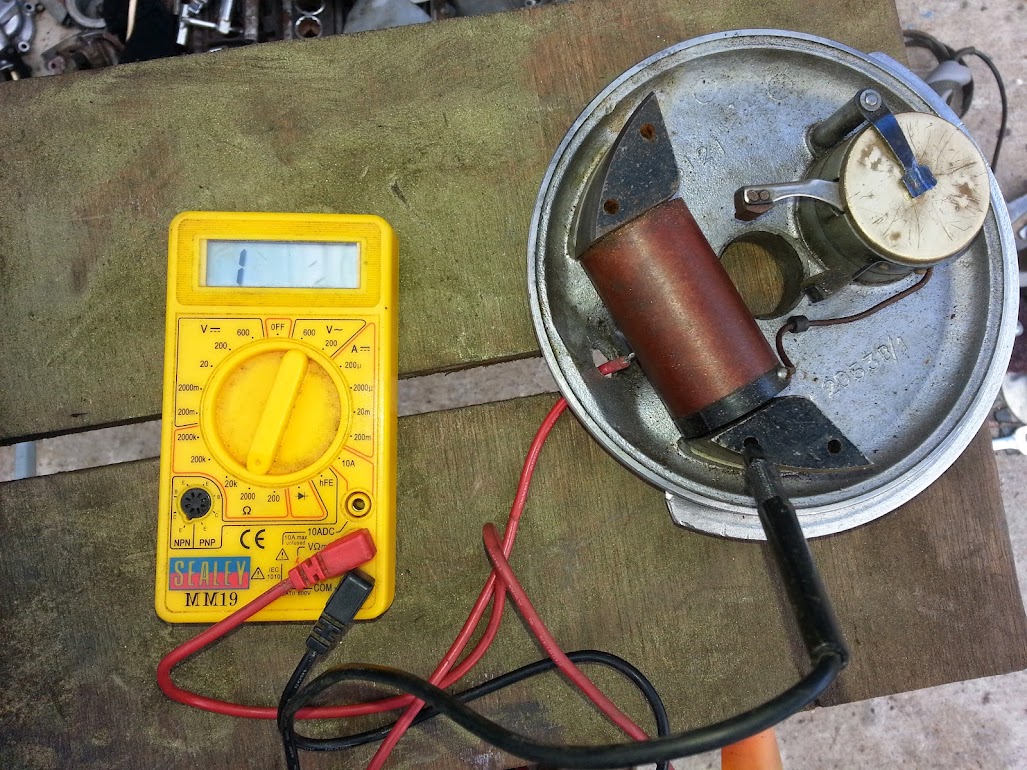
So I tested one off a donor engine and it looked good.

Grand now I just have to swap them over

:eek::eek::eek: what a nightmare these are not easy to get off they are held on with to small screws and two studs that are sized in, I used the ratchet on the screwgun to work them loose and some gentle hammering
I put it back on the head of the donor engine and used the screwgun on the flywheel nut to turn the engine over for a few minutes to charge the condenser once it was charged I got a good spark.